
Our outdated photo memories evoke emotion. Sometimes that emotion is one you have not felt in many years. Or maybe you feel it because you have not seen the image in some time. Often these older photos are stored in closet, drawer or a scary box under the bed and out “out of sight, out of mind”.
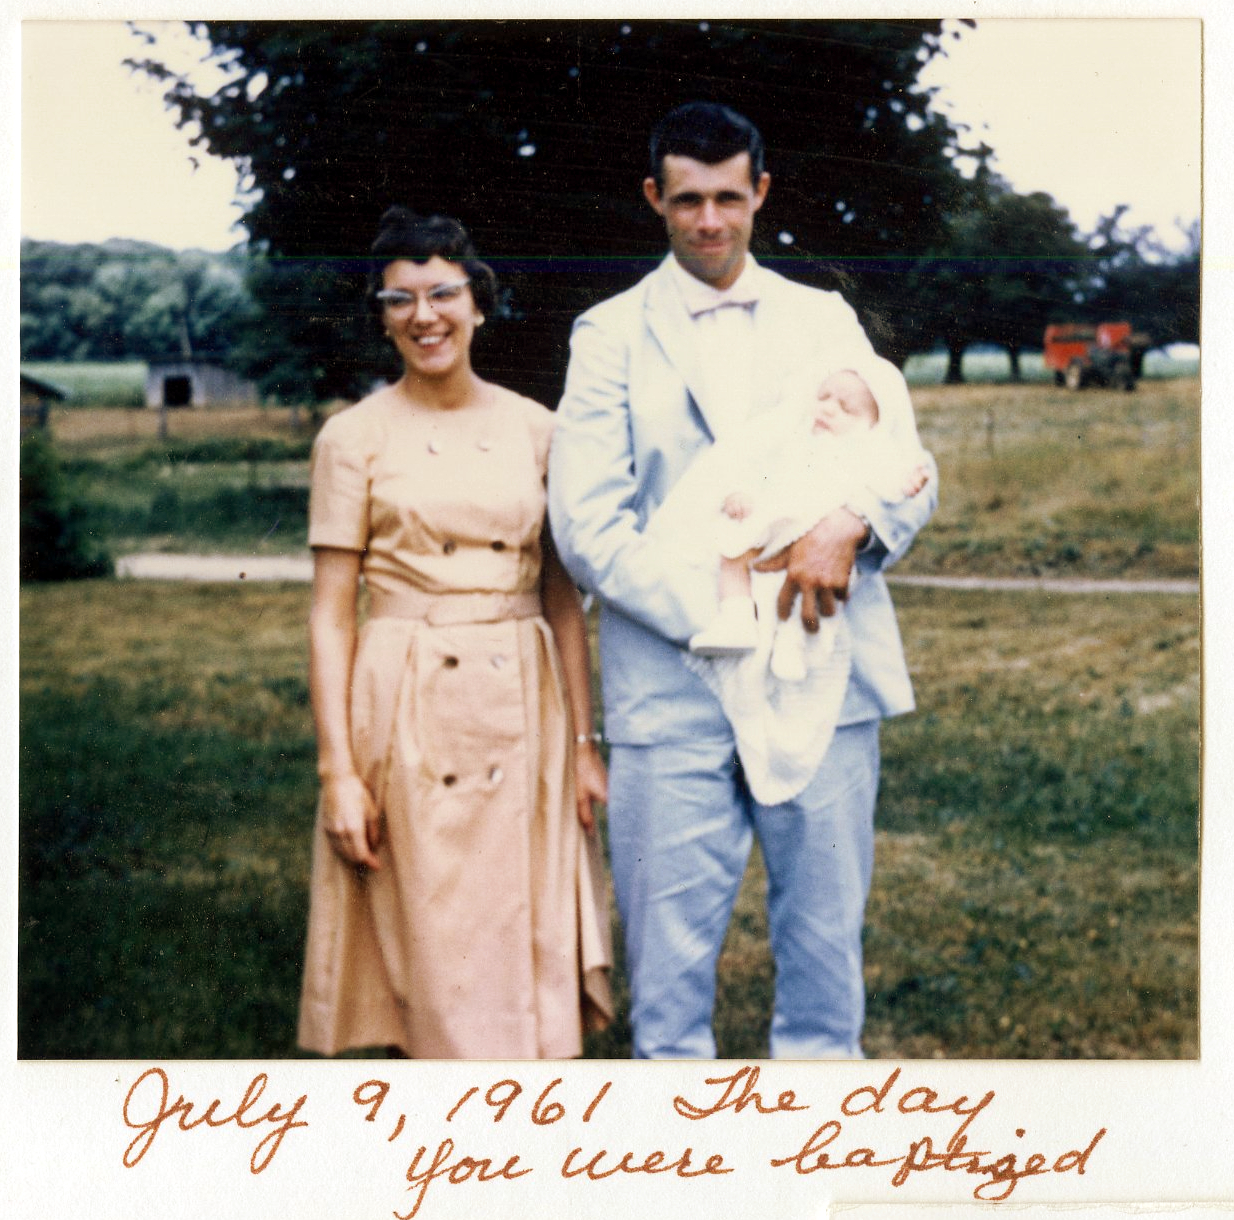
This photo of my parents with me on the day I was baptized brings up a great deal of reflection. I can see the sheer joy on my parents faces having me, their first of three children, baptized. I was there but don’t remember the day. Looking back now it is so heartwarming to catch this glimpse of their happiness!
Maybe you recently inherited photos or uncovered them during genealogy efforts. No matter how they came into your possession, digitizing is the one way to guarantee your family will be able to access and enjoy them for many generations to come. Of course, that means you’ll want to store the digital files in a place that allows easy access and sharing, somewhere permanent. If not permanent, you’ll want to have a minimum of 3 back ups. This is industry standard in genealogy and just plain old smart practices!
We have several opportunities to digitize outdated photos.
1. DIY scan yourself: Scanning your own photos and documents is a smart choice for some. There are several considerations.
- Be sure your scanner and the DPI (dots per inch) is high enough quality for your satisfaction and what you plan to do with them. The minimum DPI you’ll want to use is 600 but you may consider higher DPI.
- Your scanner matters. Be sure to invest in a high-quality scanner to get the best results possible.
- Plan on this taking time. It is not a quick process.
2. Scan photos using a camera: This is a bit tricky and can be expensive if you don’t already have the right equipment. You’ll need:
- A good DSLR camera
- A macro lens
- A tri-pod
- A lightbox to ensure the camera stays still and the lighting is even and perfect
There is potentially more but you get the picture! (Get it? 😉)
3. Use a mobile app to scan: Talk about convenient and easy, and even free!
- Beware that the quality will not be as nearly as high as other scanning choices.
- Be sure to hold your phone level and steady. This will help minimize distortion.
- Take care to put your photo or document on a high contrast background.
4. Use a digitizing service: A digitizing service usually provides top quality and saves a ton of time. There are many important factors to consider.
- Read the reviews. You can learn a lot about the company.
- Be sure the company does the scanning in the US rather than shipping overseas.
- Is there someone to answer questions along the way?
- Check the estimated completion time to make sure it is reasonable. Some digitization services can take many months.
- If you choose a company that has you ship your items, what shipping method do they use? Be certain it is a credible and reliable shipper and that your box is tracked from the time it leave your hand until it reaches the digitizing center.
- How does the company treat your images while they are in house? Are they using “white gloves” to protect your precious photos from dirt, oil, etc?
- You might also check to see if they offer photo restoration. Having the digital copy of a damaged photo can be frustrating after the effort (and money) you invested.
- How will you receive your digitized photos: jump drive, download or added to a photo storage account
How’s that for a lot to think about? I would encourage you to consider these methods and the end result you are looking for. We want our photo memories back in our life in a way that makes us happy for now and the future!